前面采用 nginx + nginx-rtmp-module 的方式搭建 RTMP 服务器,由于在 windows 下未对 rtmp 模块进行编译,所以后面采用了 nginx Gryphon + nginx-rtmp-module 的方式,成功搭建了 RTMP 服务器。
1 环境与准备文件
开发环境:windows
开发工具:ffmpeg、nginx 1.7.11.3 Gryphon(nginx)、nginx-rmtp-module、vlc media player播放器
官方ffmpeg下载地址:http://www.ffmpeg.org
官方nginx下载地址:http://nginx.org/en/download.html
官方nginx 1.7.11.3 Gryphon下载地址:http://nginx-win.ecsds.eu/download/nginx
官方nginx-rtmp-module下载地址:https://github.com/arut/nginx-rtmp-module
官方vlc media player下载地址:https://www.videolan.org/vlc
2 安装nginx、ffmpeg与启动nginx
分别下载最新版本的 nginx 和 ffmpeg,都复制到 E:\technology 目录下,然后再将下载好的 nginx-rtmp-module 复制到 E:\technology\nginx-rtmp-module目录下。
然后配置环境变量:右键我的电脑 》属性 》高级系统设置 》高级 》环境变量 》双击 Path ,将 E:\technology\ffmpeg-4.2.1-win64-static\bin 和 E:\technology\nginx-1.17.9 都添加到 Path 路径下。
有很多种方法启动 nginx:
(1)直接双击 nginx.exe,双击后一个黑色的弹窗一闪而过。
(2)打开 cmd 命令窗口,切换到 nginx 解压目录下,输入命令 nginx.exe 或者 start nginx ,回车即可。
3 检查nginx是否启动成功
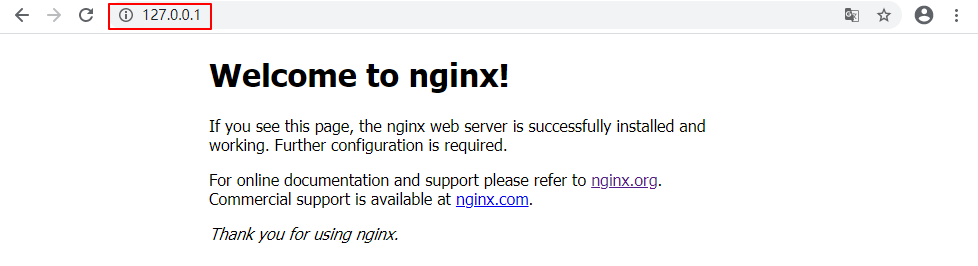
直接在浏览器地址栏输入网址 http://127.0.0.1:80 或者 http://localhost:80,回车,出现以下页面说明启动成功:
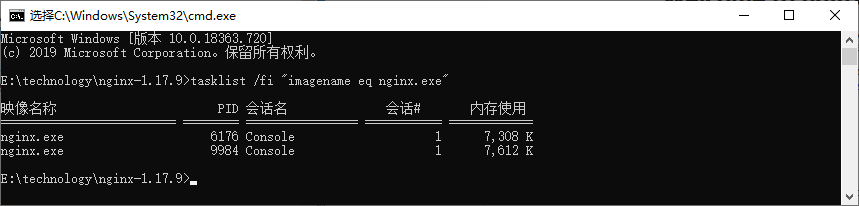
也可以在 cmd 命令窗口输入命令tasklist /fi "imagename eq nginx.exe,出现如下结果说明启动成功:
nginx 的配置文件是 conf 目录下的 nginx.conf,默认配置的 nginx 监听的端口为 80,如果 80 端口被占用可以修改为未被占用的端口即可,也因此 chrome 浏览器未显示端口。
检查 80 端口是否被占用的命令是:netstat -ano | findstr 0.0.0.0:80 或 netstat -ano | findstr "80",如果打印出了一下内容则说明 80 端口被占用:
1
| TCP 0.0.0.0:80 0.0.0.0:0 LISTENING 6220
|
当我们修改了 nginx 的配置文件 nginx.conf 时,不需要关闭 nginx 后重新启动 nginx,只需要执行命令nginx -s reload即可让改动生效
4 配置nginx.conf文件
默认的 nginx.conf 文件并没有配置 RTMP 服务器,需要我们手动添加配置。具体步骤为:在 conf 目录中,复制粘贴 nginx.conf 文件并将其重名为 nginx-win.conf,修改其内容为:
1
2
3
4
5
6
7
8
9
10
11
12
13
14
15
16
17
18
19
20
21
22
23
24
25
26
27
28
29
30
31
32
33
34
35
36
37
38
39
40
41
42
43
44
45
46
47
48
49
50
51
52
53
54
55
56
57
58
59
60
61
62
63
64
65
66
67
68
69
70
71
72
73
74
75
76
77
78
79
80
81
82
83
84
85
86
87
88
89
90
91
92
93
94
95
96
97
98
99
100
101
102
103
104
105
106
107
108
109
110
111
112
113
114
115
116
117
118
119
120
121
122
123
124
125
126
127
128
129
130
131
132
133
134
135
136
137
138
139
140
141
142
143
144
145
146
147
148
149
150
151
152
153
154
155
156
157
158
159
160
161
162
163
164
165
166
167
168
169
170
171
172
173
174
175
176
177
178
179
180
181
182
183
184
185
186
187
188
| #user nobody;
# multiple workers works !
worker_processes 2;
#error_log logs/error.log;
#error_log logs/error.log notice;
#error_log logs/error.log info;
#pid logs/nginx.pid;
events {
worker_connections 8192;
# max value 32768, nginx recycling connections+registry optimization =
# this.value * 20 = max concurrent connections currently tested with one worker
# C1000K should be possible depending there is enough ram/cpu power
# multi_accept on;
}
rtmp {
server {
listen 1935;
chunk_size 4000;
application live {
live on;
}
}
}
http {
#include /nginx/conf/naxsi_core.rules;
include mime.types;
default_type application/octet-stream;
#log_format main '$remote_addr:$remote_port - $remote_user [$time_local] "$request" '
# '$status $body_bytes_sent "$http_referer" '
# '"$http_user_agent" "$http_x_forwarded_for"';
#access_log logs/access.log main;
#
# upstream myLoadBalancer {
# server 127.0.0.1:9001 weight=1 fail_timeout=5;
# server 127.0.0.1:9002 weight=1 fail_timeout=5;
# server 127.0.0.1:9003 weight=1 fail_timeout=5;
# server 127.0.0.1:9004 weight=1 fail_timeout=5;
# server 127.0.0.1:9005 weight=1 fail_timeout=5;
# server 127.0.0.1:9006 weight=1 fail_timeout=5;
# server 127.0.0.1:9007 weight=1 fail_timeout=5;
# server 127.0.0.1:9008 weight=1 fail_timeout=5;
# server 127.0.0.1:9009 weight=1 fail_timeout=5;
# server 127.0.0.1:9010 weight=1 fail_timeout=5;
# least_conn;
# }
sendfile off;
#tcp_nopush on;
server_names_hash_bucket_size 128;
#
client_body_timeout 10;
client_header_timeout 10;
keepalive_timeout 30;
send_timeout 10;
keepalive_requests 10;
#
#gzip on;
server {
listen 80;
server_name localhost;
location /stat {
rtmp_stat all;
rtmp_stat_stylesheet stat.xsl;
}
location /stat.xsl {
root nginx-rtmp-module/;
}
location /control {
rtmp_control all;
}
#charset koi8-r;
#access_log logs/host.access.log main;
## Caching Static Files, put before first location
#location ~* \.(jpg|jpeg|png|gif|ico|css|js)$ {
# expires 14d;
# add_header Vary Accept-Encoding;
#}
# For Naxsi remove the single
location / {
#include /nginx/conf/mysite.rules; # see also http block naxsi include line
##SecRulesEnabled;
##DeniedUrl "/RequestDenied";
##CheckRule "$SQL >= 8" BLOCK;
##CheckRule "$RFI >= 8" BLOCK;
##CheckRule "$TRAVERSAL >= 4" BLOCK;
##CheckRule "$XSS >= 8" BLOCK;
root html;
index index.html index.htm;
}
# For Naxsi remove the
##location /RequestDenied {
## return 412;
##}
#
# location /robots.txt {
# rewrite_by_lua '
# if ngx.var.http_host ~= "localhost" then
# return ngx.exec("/robots_disallow.txt");
# end
# ';
# }
#error_page 404 /404.html;
# redirect server error pages to the static page /50x.html
#
error_page 500 502 503 504 /50x.html;
location = /50x.html {
root html;
}
# proxy the PHP scripts to Apache listening on 127.0.0.1:80
#
#location ~ \.php$ {
# proxy_pass http://127.0.0.1;
#}
# pass the PHP scripts to FastCGI server listening on 127.0.0.1:9000
#
#location ~ \.php$ {
# root html;
# fastcgi_pass 127.0.0.1:9000; # single backend process
# fastcgi_pass myLoadBalancer; # or multiple, see example above
# fastcgi_index index.php;
# fastcgi_param SCRIPT_FILENAME $document_root$fastcgi_script_name;
# include fastcgi_params;
#}
# deny access to .htaccess files, if Apache's document root
# concurs with nginx's one
#
#location ~ /\.ht {
# deny all;
#}
}
# another virtual host using mix of IP-, name-, and port-based configuration
#
#server {
# listen 8000;
# listen somename:8080;
# server_name somename alias another.alias;
# location / {
# root html;
# index index.html index.htm;
# }
#}
# HTTPS server
#
#server {
# listen 443 ssl spdy;
# server_name localhost;
# ssl on;
# ssl_certificate cert.pem;
# ssl_certificate_key cert.key;
# ssl_session_timeout 5m;
# ssl_prefer_server_ciphers On;
# ssl_protocols TLSv1 TLSv1.1 TLSv1.2;
# ssl_ciphers ECDH+AESGCM:ECDH+AES256:ECDH+AES128:ECDH+3DES:RSA+AESGCM:RSA+AES:RSA+3DES:!aNULL:!eNULL:!MD5:!DSS:!EXP:!ADH:!LOW:!MEDIUM;
# location / {
# root html;
# index index.html index.htm;
# }
#}
}
|
这里监听端口未改动,仍然为 80,重点添加了 RTMP 服务器的相关配置,以搭建 RTMP 服务器,rtmp 协议的默认端口号是 1935。具体的配置详解请参考:菜鸟教程 - Nginx 配置详解
5 nginx方式启动服务器(失败)
按住 windows 键 +R,输入 cmd,进入 cmd 命令窗口,进入 nginx 目录:cd E:\technology\nginx-1.17.9,然后启动 nginx rtmp 服务器:
1
| nginx.exe -c conf\nginx-win.conf
|
出现该错误:
1
| nginx: [emerg] unknown directive "rtmp" in E:\technology\nginx-1.17.9/conf\nginx-win.conf:19
|
网上搜索该错误,找到解决该问题的博客:windows下nginx的rtmp配置加载问题 unknown directive “rtmp” 。
原因是:nginx 的 windows 版本可能在编译的时候没有对 rtmp 模块进行编译导致使用不了。
方法1:
下载源码重新进行编译并把 rtmp 模块进行编译进去,过程较为繁琐,这里不推荐,有兴趣的可以参考:第二讲:win7下nginx-rtmp-module的编译方法。
方法2:
下载带 rtmp 模块的 nginx 版本,如 nginx 1.7.11.3 Gryphon,后续亲测可用。
6 nginx Gryphon方式搭建RTMP服务器(成功)
1. 下载 nginx 1.7.11.3 Gryphon
下载带 rtmp 模块的 nginx 版本,如 nginx 1.7.11.3 Gryphon,下载地址为:http://nginx-win.ecsds.eu/download/nginx。
下载完成后解压,将解压后的目录名:nginx 1.7.11.3 Gryphon 改成:nginx-1.7.11.3-Gryphon。
2. 下载服务器状态检查程序
下载 nginx-rtmp-module,下载地址为:https://github.com/arut/nginx-rtmp-module/。
将 nginx-rtmp-module-master.zip 解压后复制到目录 nginx-1.7.11.3-Gryphon 下,保证 stat.xls 的目录为:nginx-1.7.11.3-Gryphon\nginx-rtmp-module\stat.xsl。
3. 配置文件 conf\nginx-win.conf
与上面第 4 大步一致。
4. 启动服务器
按住 windows 键 +R,输入 cmd,进入 cmd 命令窗口,进入 nginx 目录:cd E:\technology\nginx-1.7.11.3-Gryphon,然后启动 nginx rtmp 服务器:
1
| nginx.exe -c conf\nginx-win.conf
|
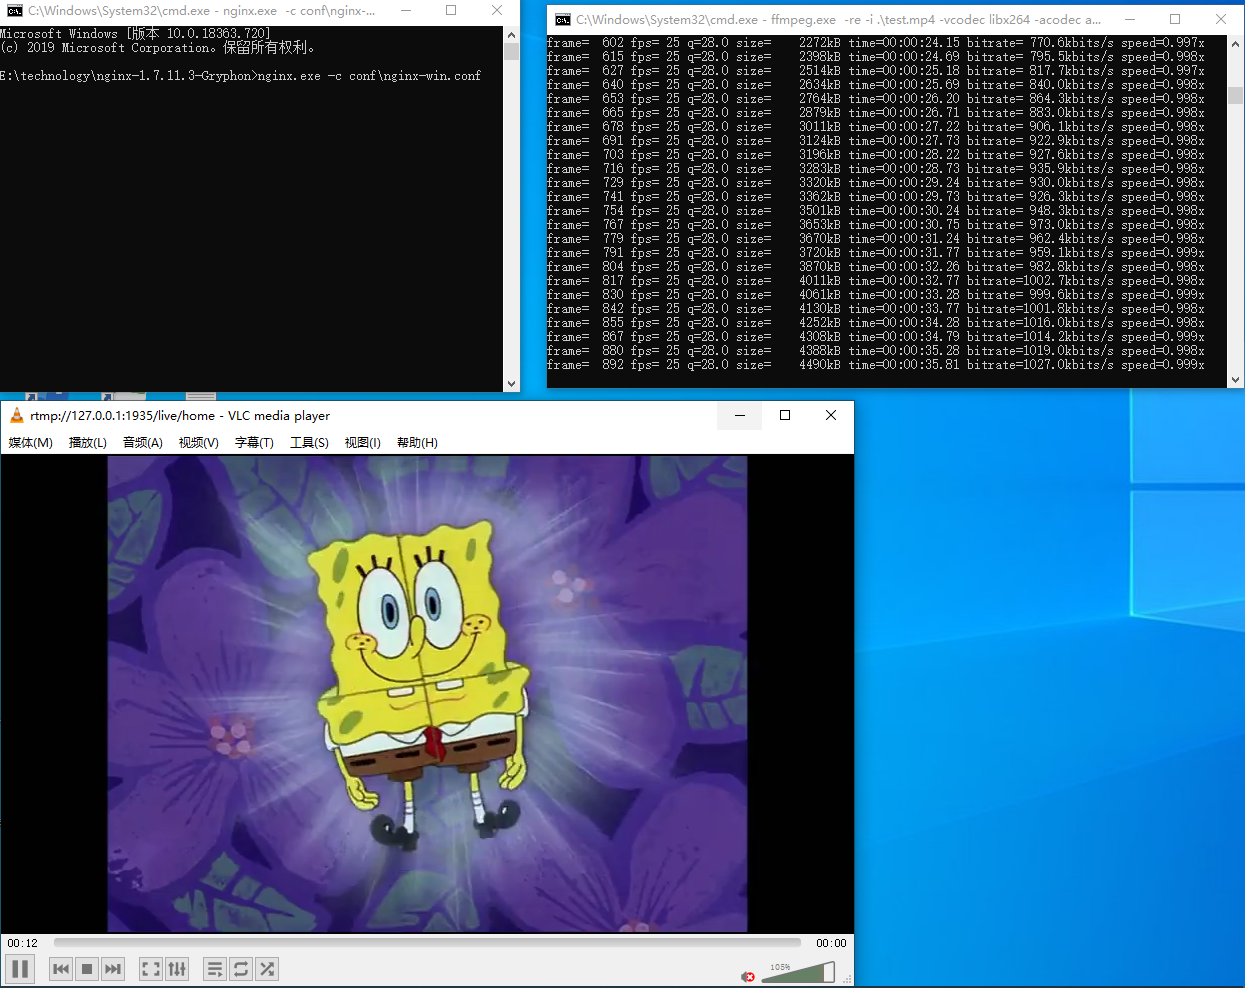
7 RTMP 推流测试
FFmpeg 本地视频推流测试:
1
| ffmpeg.exe -re -i .\test.mp4 -vcodec libx264 -acodec aac -f flv rtmp://127.0.0.1:1935/live/home
|
使用 VLC 播放器测试,输入网络 URL:rtmp://127.0.0.1:1935/live/home。
上面 IP 地址均可换成本地 IP。
摄像头推流测试:
1
| ffmpeg -f dshow -i video="FHD Camera" -vcodec libx264 -preset:v ultrafast -tune:v zerolatency -f flv rtmp://127.0.0.1:1935/live/home
|
在设备管理器的”照相机”处,获得摄像头设备名称摄像头为”FHD Camera”。更多推流命令请参考:Windows 搭建 nginx rtmp服务器。
8 扩展:关闭nginx
如果使用 cmd 命令窗口启动 nginx,关闭 cmd 窗口是不能结束 nginx 进程的,可使用两种方法关闭 nginx:
(1)输入 nginx 命令:nginx -s stop(快速停止 nginx) 或 nginx -s quit(完整有序的停止nginx)。
(2)使用taskkill命令: taskkill /f /t /im nginx.exe。
参考:
Windows 搭建 nginx rtmp服务器
windows下nginx的安装及使用
Windows10下nginx的rtmp服务器搭建
rtmp服务器以及rtmp推流/拉流/转发